TOTE BAGS
(I had trouble formatting photos today, so there is a bit of awkward placement!)
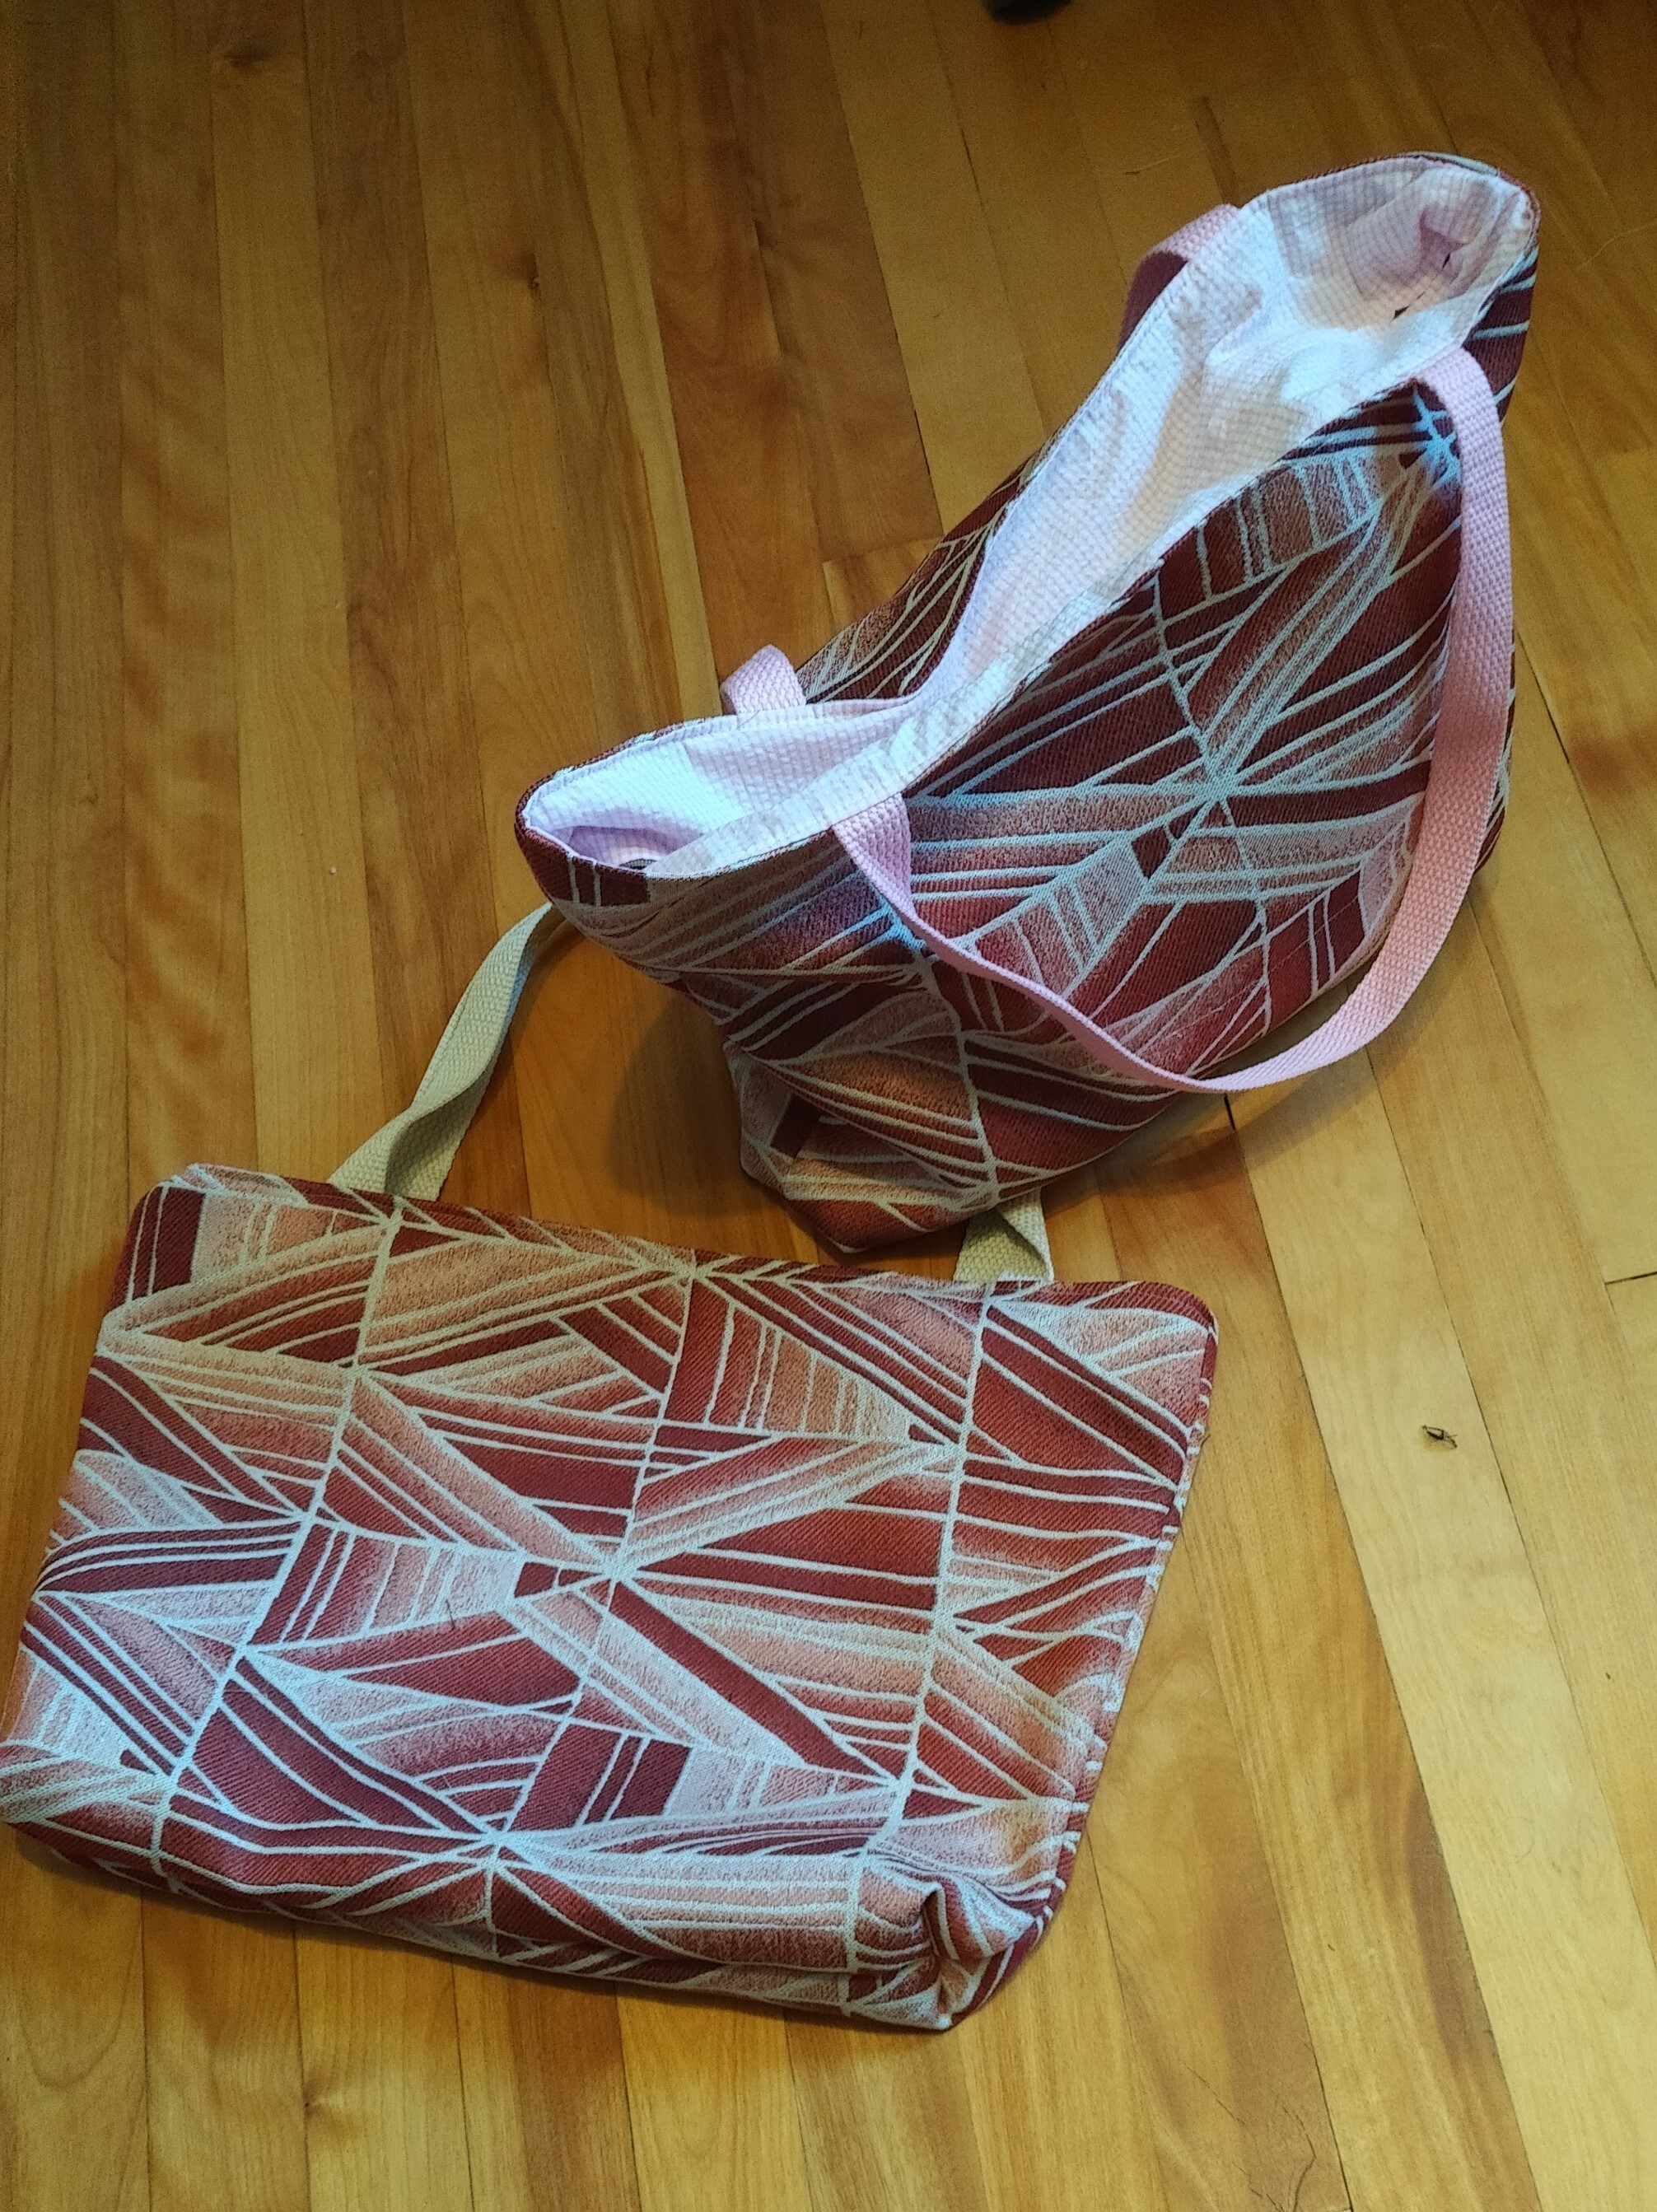 |
| Finished bags |
I actually sewed these before my LAST post, but forgot about them (they are already in the suitcase awaiting proper packing!)
During our last visit to Japan in 2018, I received as a gift two tote bags. One is perfect for groceries, and one a good little book bag, or general tote. The small tote is trapezoid-shaped, and has an inner facing, with a zip at the bottom of the facing. Love this detail! On that trip I had also purchased a small piece of light canvas which has squares on one side and polka-dots on the other (cutest stuff!), and eventually realized I could copy the tote bag pattern and make it up in this fabric. Both of those get a lot of use, and I thought such a tote bag would make a good hostess gift (for the hostess to whom I already sent pillow-cases for Christmas!).
 |
| see the cute, double-sided fabric! |
 |
| facing and zipper |
So I bought some upholstery fabric and some webbing, and whipped up two bags. Not sure who will get the second one, or if I will keep it, but it is made,
I am happy to share construction techniques for this pattern... these are adapted from the instructions I wrote in my PR review.
what to cut
- cut 2 identical trapezoid shapes (mine is about 18 inches/45 cm at the top, and 15.5 inches, 39 cm at the bottom)
- use top of bag to trace a facing for top of bag; (about 2.5 inches/6cm deep; otherwise trace top of trapezoid exactly).
- decide on the handles; mine are each about 21 inches/53 cm.
- options for handles:
- waistbands from discarded trousers,
- cut from your fabric (finished size about 1.25 inches, 3cm, don't forget seam allowance);
- purchased webbing
- decide if you want an internal or external pocket, cut to your desired size. (Useful as an inner pocket to place a credit card, bus ticket, or a phone...)
zipper:
- baste bottom (shorter) edge of trapezoid facings together; (not the ends)
- sew in zipper to this same side, remove basting.
pocket
- sew pocket piece (if using) to the desired placement;

inner pocket

assembly
- sew sides and bottom of bag pieces right sides together,
- sew sides of facing pieces right sides together.
- with zipper open, place long edge of facing to top of bag, right sides together
- prepare handles
- insert handles as desired BETWEEN facing and bag (being sure that main handle is on outside of bag, not towards inside; when you sew it will probably be 'inside' the bag, though... make sense?
finishing
this is tricky to explain: on inside, fold a triangle at bottom corners, flatten it, lining up bottom seam and side seam, and sew across, in order to create a squared bottom... approximately 1 inch 2.5 cm from the corner (see photos)
flatten and stitch - topstitch around top of bag.
- I think that is it!

from another angle 
two new bags


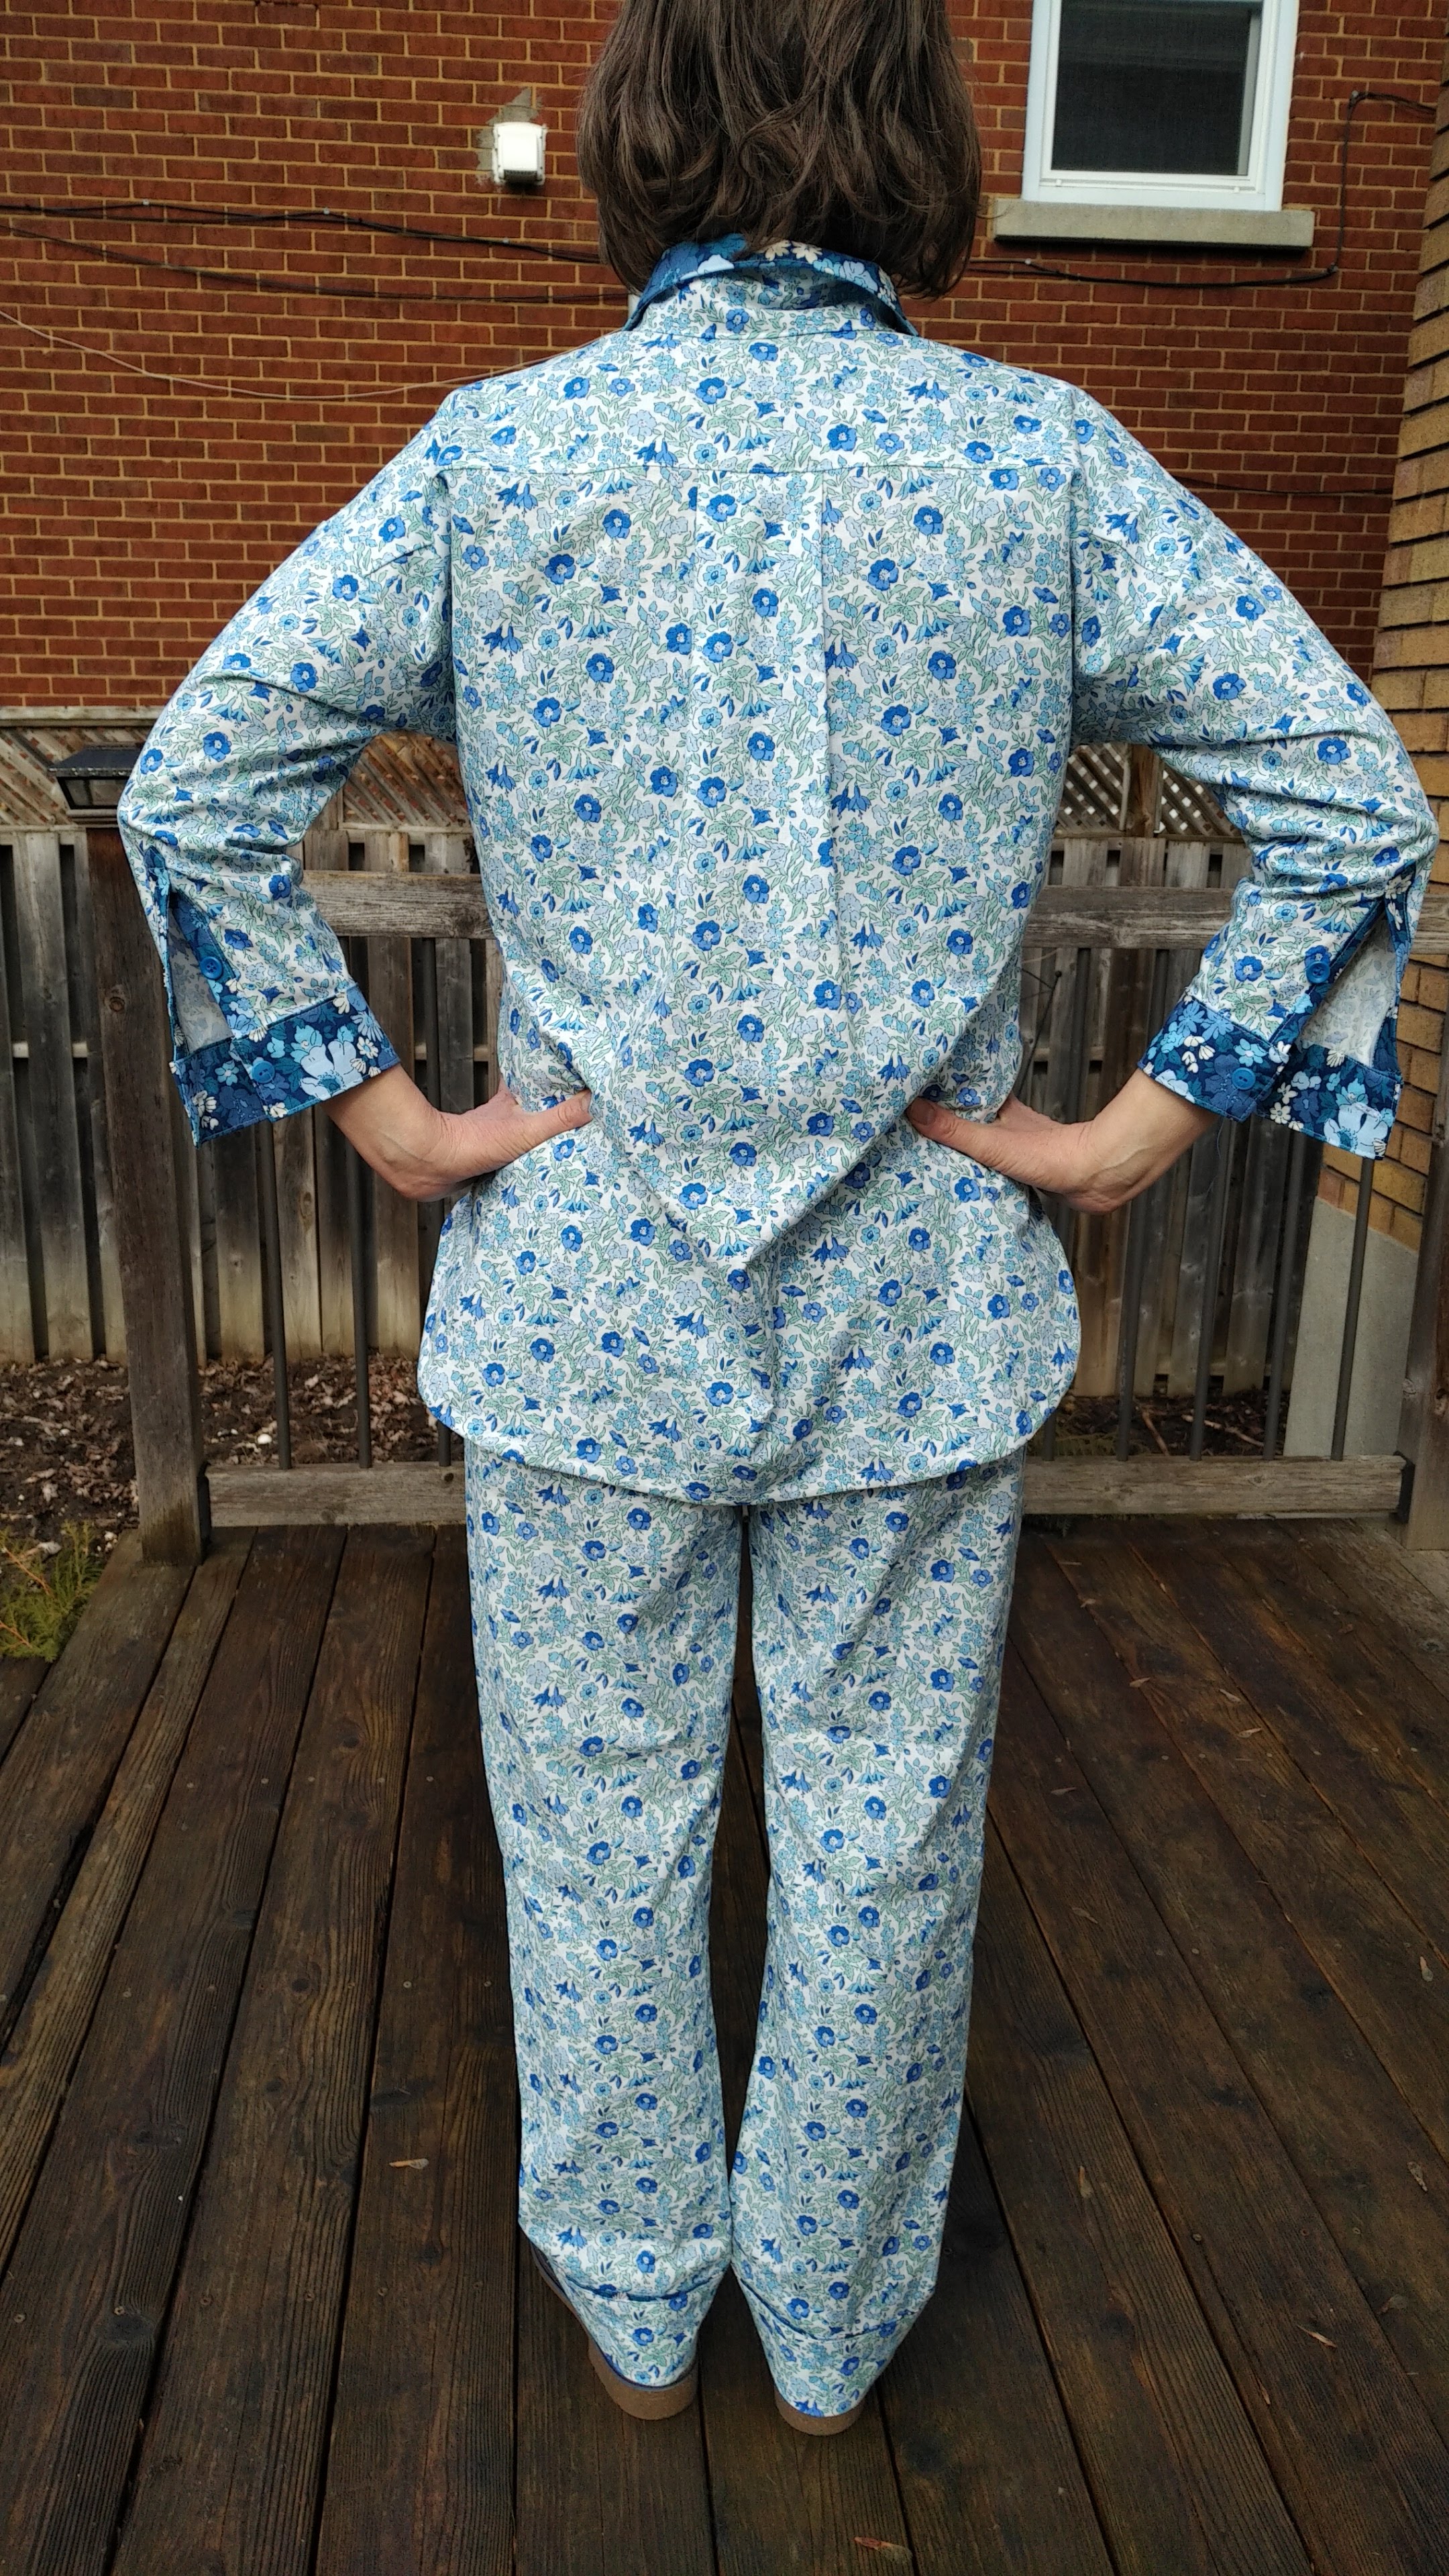
Royal Dutch official travel outfit.... definitely not pyjamas!
So I finished this outfit. and I really love it.
And although some people might wear such an outfit out in public (usually celebreties, I think, c.f. Queen Maxima), I would not. But, it would be comfy for travelling😉. Although my travelling companions would probably disown me.

 |
HOWEVER... I will be visiting friends in their homes, as well as participating in some communal living in the near future, so spiffy looking loungewear might be de rigueur!
 |
 |
 |
 |
The details
I used two Liberty quilting cottons: Flower Show for my main, and Cosmos for the contrast.
 |
The top is also Closet Core, but not the Carolyn top. It is the Kalle top, with sleeve extensions. I think that I have adjusted this pattern a bit - I don't use the tunic layout, but a shortened dress version. The tunic 'tail' is too narrow, and too difficult to hold out of the way when necessary! I used the contrast for the inner yoke, the inner collar band and upper collar piece, as well as the cuffs and cuff plackets.
Oh goodness... speaking of the cuff plackets...
 |

Grainline Archer tutorial I used the tuck-in method here (a kind of burrito method to go around the end of the collar band
Sew Sew Live tutorial: I used her suggestion to cut back some of the seam allowances (but NOT the neck edge... I left that, then cut down only the inner pieces, allowing me enough fabric to tuck in the seam allowance on the outside. I also sewed the collar and band to the inside, and tucked in on the outside, as she suggests.
Happy with the outfit - but wondering - will I want to wear it as PJs, or actually wear the top as a shirt?! I have been wanting to replace a coordinated PJ set with button-up front for a while, so I think I will keep it as loungewear/PJs, and it will definitely be packed for the upcoming Great Adventure!
 |
 |
Next up
Working on the burda dress muslin for Australia daughter - very fitted, so complex work. Not to mention the instructions are in German - and I am not convinced the German is clear! Never mind the garbled translations! I will be winging it on my own for this! Stay tuned!
I have decided to delay the kilt upcycle - I don't want to rush it, so will put it until after my travels. Sorry, CB!
Comments
Post a Comment
Feel free to leave a message. I am happy to hear from you. If you post anonymously feel free to leave your first name!